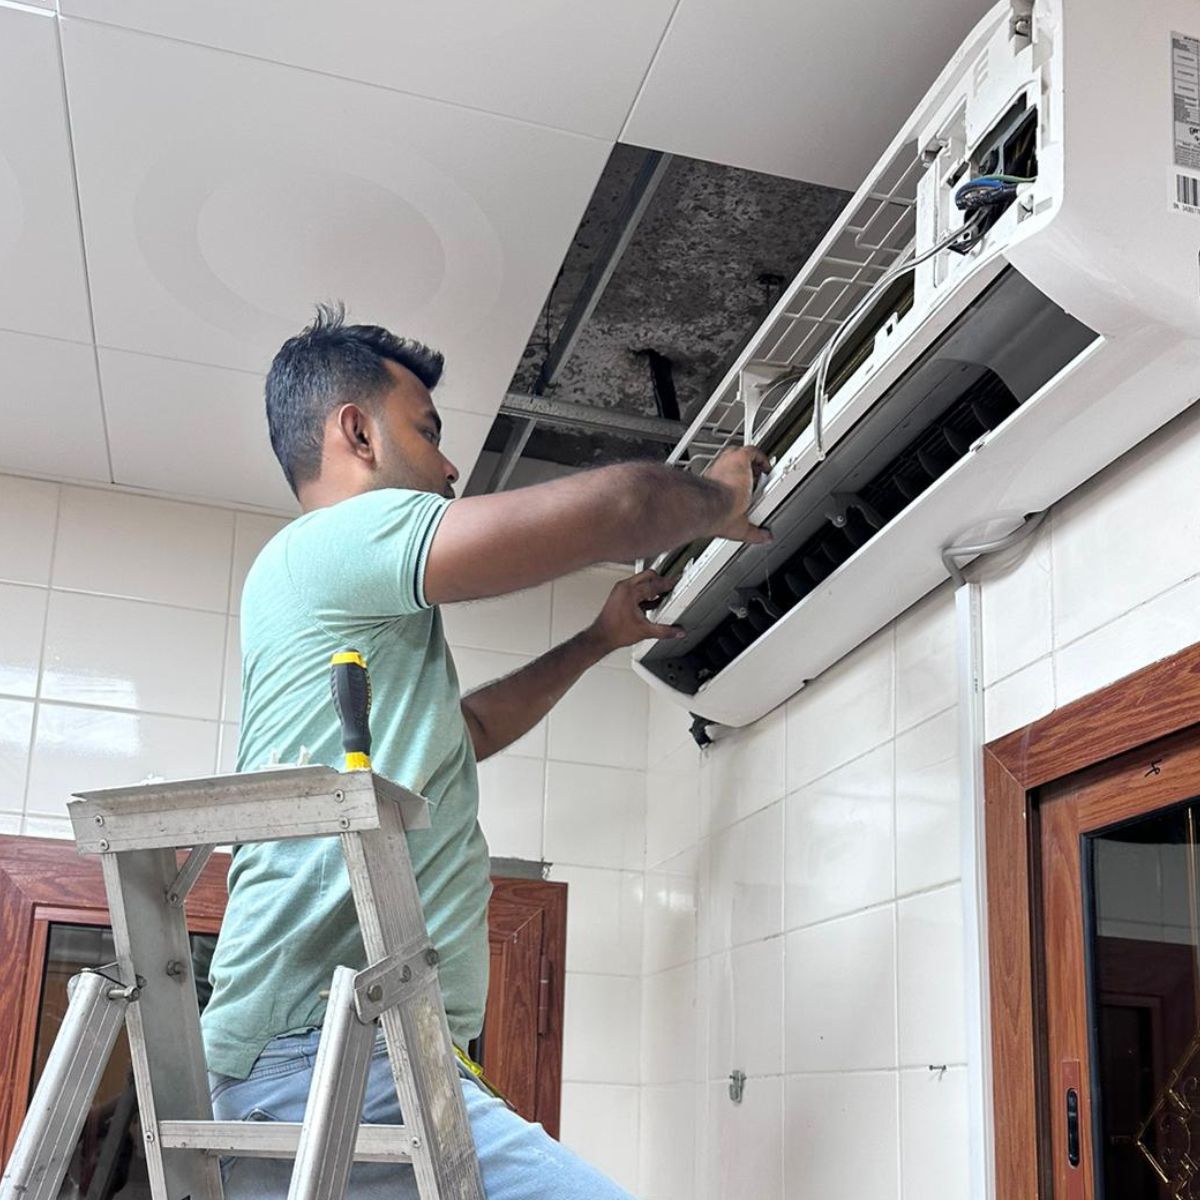
How to Clean Carrier Air Conditioner? To clean a Carrier air conditioner, start by turning off the power supply, removing the air filters, and washing them with a mild detergent and warm water. Use a soft brush to clean the evaporator and condenser coils, and vacuum any dirt or debris.
Wipe the unit’s exterior with a damp cloth, and ensure there are no obstructions around the unit. Finally, reinstall the air filters and turn on the power supply. Maintenance and regular cleaning of your Carrier air conditioner help to improve its performance and extend its lifespan, ensuring a comfortable and efficient cooling experience for your space.
Gather The Necessary Tools And Materials
Start by gathering the necessary tools and materials to clean your Carrier air conditioner. You will need a cleaning solution, a microfiber cloth, a vacuum cleaner with a brush attachment, a water hose or bucket, a fin comb, and a screwdriver.
Turn Off And Disconnect The Air Conditioner
To properly clean your Carrier air conditioner, the first step is to turn off and disconnect the unit. Start by shutting off the power supply. This can be done by either unplugging the unit or turning off the circuit breaker that supplies power to the air conditioner. By doing so, you eliminate the risk of electric shock while cleaning.
Clean The Air Filter
Locate the air filter: The air filter in your Carrier air conditioner is usually located near the return air duct. Refer to your unit’s manual for specific instructions on how to locate it.
Remove the filter: Once you have located the air filter, carefully remove it from the unit. Take note of the positioning and how it is installed for easier reinstallation later.
Gently clean the filter with a vacuum or water: Depending on the type of filter, you can either vacuum off the dust and debris or rinse it with water. Be sure to follow the manufacturer’s instructions for cleaning.
Let the filter dry completely before reinstallation: After cleaning, allow the filter to air dry completely. Do not reinstall it while it is still wet, as this can lead to mold or mildew growth.
Reinstall the filter: Once the filter is dry, carefully place it back into the unit in the same position from where you removed it. Ensure that it is secure and properly aligned.
Regular maintenance: Cleaning the air filter is just one part of regular maintenance for your Carrier air conditioner. Regularly check and clean the outdoor unit, remove any debris around the condenser coils, and schedule professional maintenance as recommended by the manufacturer.
Clean The External Unit
When cleaning your carrier air conditioner, it is important to start with the external unit. Begin by removing any debris or leaves that may have accumulated around the unit. This can be done by simply using your hands or a brush. Next, spray the unit with water to remove any dirt and grime that may have built up. Be sure to spray from top to bottom to ensure a thorough cleaning.
Once the unit is wet, use a cleaning solution and a microfiber cloth to wipe down the exterior. This will help to remove any stubborn dirt or stains. Be sure to use a gentle cleaning solution that is specifically designed for air conditioner units. Avoid using harsh chemicals or abrasive materials that could damage the unit.
Clean The Evaporator Coils
To clean the evaporator coils of your Carrier air conditioner, follow these steps:
- Locate the evaporator coils.
- Remove the access panel.
- Spray the coils with a coil cleaner.
- Let the cleaner sit for a few minutes.
- Rinse off the coils with water.
- Allow the coils to dry completely before reassembly.
Clean The Condenser Coils
Locate the condenser coils: Begin by locating the condenser coils on your Carrier air conditioner. They are usually located on the outdoor unit of the system.
Remove any debris or obstructions: Before cleaning the coils, make sure to remove any debris or obstructions that may have accumulated on them. This can be done using a soft brush or a vacuum cleaner.
Spray the coils with a coil cleaner: Once the coils are free of debris, spray them with a coil cleaner. This will help remove any dirt and grime that may have built up on the coils over time.
Let the cleaner sit for a few minutes: After spraying the coils with a coil cleaner, allow the cleaner to sit on the coils for a few minutes. This will give the cleaner enough time to break down any stubborn dirt and grime.
Rinse off the coils with water: After the cleaner has had time to work, rinse off the coils with water. This can be done using a hose or a bucket of water.
Allow the coils to dry completely before reassembly: Once the coils have been rinsed off, make sure to allow them to dry completely before reassembling the unit. This will help prevent any potential damage to the system.
Clean The Fan Blades
To clean the fan blades of your Carrier Air Conditioner, start by removing the fan access panel. You can use a vacuum or brush to carefully remove any dust and debris that has accumulated on the blades. Make sure to reach all areas of the blades to ensure a thorough cleaning.
After removing the dirt, use a damp cloth to wipe down the blades. This will help to remove any remaining dust or grime. Remember to be gentle and take your time to avoid damaging the blades. Regularly cleaning the fan blades will help to maintain the efficiency of your air conditioner and ensure better airflow.
Inspect And Clean The Condensate Drain
To ensure that your Carrier Air Conditioner is running efficiently and providing clean, cool air, it is important to regularly inspect and clean the condensate drain. Start by locating the condensate drain, which is typically located near the outdoor unit. Inspect the drain for any clogs or blockages that may be preventing proper drainage. If you notice any obstructions, use a wire to carefully clear the drain.
Once the drain is clear, flush it with water to remove any remaining debris. This will help to prevent condensate water from accumulating and potentially causing damage to your air conditioner. Regularly inspecting and cleaning the condensate drain will help to maintain the efficiency and performance of your Carrier Air Conditioner.
Reassemble And Test The Air Conditioner
After cleaning the carrier air conditioner, it is important to reassemble and test the unit to ensure it is functioning properly.
To reassemble the air conditioner, make sure to reinstall all the panels and access points that were removed during the cleaning process. Ensure that they are securely in place to avoid any air leaks.
Next, reinsert the air filter back into its designated slot. The air filter plays a crucial role in maintaining good indoor air quality and preventing dust and debris from entering the unit.
Once everything is reassembled, turn on the power supply to the air conditioner. It is important to check if the power is properly connected and that there are no tripped breakers or blown fuses.
Finally, test the air conditioner to ensure proper functioning. Set the thermostat to the desired temperature and listen for any unusual noises or vibrations. Also, pay attention to the airflow and cooling performance to confirm that the unit is working efficiently.
Regularly cleaning and maintaining your carrier air conditioner will not only extend its lifespan but also ensure that it operates at optimal performance, providing you with cool and comfortable air throughout the hot summer months.
Regular Maintenance Tips For Your Carrier Air Conditioner
Regular maintenance is essential to keep your Carrier air conditioner running efficiently. Cleaning your unit regularly can help improve its performance and prolong its lifespan. Follow these simple tips to clean your Carrier air conditioner and ensure optimal cooling all year round.
To keep your Carrier air conditioner running efficiently, it is important to maintain a regular cleaning schedule. Changing the air filter every 1-3 months is crucial for proper airflow and to prevent dust and debris from clogging the system.
Additionally, it is essential to keep the area around the unit clean and free of any debris, such as leaves or dirt, as they can restrict airflow and reduce the system’s performance. By ensuring a clear space around the air conditioner, you can prevent any potential damage or blockage.
Moreover, scheduling professional maintenance at least once a year allows for a thorough inspection and cleaning of the system, identifying any potential issues and extending the lifespan of the unit. Following these simple maintenance tips will help keep your Carrier air conditioner in optimal condition, providing you with comfort throughout the year.
Frequently Asked Questions
How Often Should I Clean My Carrier Air Conditioner?
It is recommended to clean your Carrier air conditioner at least once a year to maintain its efficiency and prolong its lifespan.
What Supplies Do I Need To Clean My Carrier Air Conditioner?
To clean your Carrier air conditioner, you will need a soft brush or cloth, mild detergent, water, and a vacuum cleaner with a brush attachment.
Can I Clean My Carrier Air Conditioner Without Professional Help?
Yes, you can clean your Carrier air conditioner without professional help by following the manufacturer’s instructions and using proper cleaning techniques.
Will Keeping Mice Out of the Air Conditioner Condenser Help Maintain a Clean Carrier Air Conditioner?
Keeping mice out of the air conditioner condenser is crucial for maintaining a clean Carrier air conditioner. Mice can cause damage to the unit by chewing on wires and insulation. Additionally, their droppings can create a health hazard and negatively impact the performance of the air conditioner. Regular inspections and preventive measures are essential.
Conclusion
Maintaining a clean Carrier air conditioner is crucial for optimal performance and energy efficiency. By following the simple steps outlined in this guide, you can ensure that your air conditioner remains in top condition and provides you with cool and clean air.
Regular cleaning, checking filters, and removing debris will not only improve the lifespan of your AC but also enhance the overall air quality in your home. Don’t neglect this essential maintenance task and enjoy the benefits of a well-functioning Carrier air conditioner all year round.


