How to Test Contactor on Ac Unit? To test a contactor on an AC unit, use a multimeter to check for continuity between the contacts and check for proper voltage. Proper testing of the contactor ensures the AC unit functions correctly.
Contactor testing is an essential step in troubleshooting AC unit issues. By assessing the contractor, you can determine whether it is functioning correctly and ensuring optimal performance of the unit. This guide aims to provide a concise and precise explanation of how to test the contactor on an AC unit.
Following these steps will allow you to identify any potential problems with the contractor and address them effectively. Overall, conducting regular contactor testing helps maintain a well-functioning AC unit and ensures a comfortable indoor environment. Now let’s delve into the details of testing a contactor on an AC unit and how it can be done accurately.
The Contactor
A contactor is an essential component of an AC unit. It helps in controlling the flow of electricity to the unit’s compressor and condenser fan motor. But what exactly is a contactor?
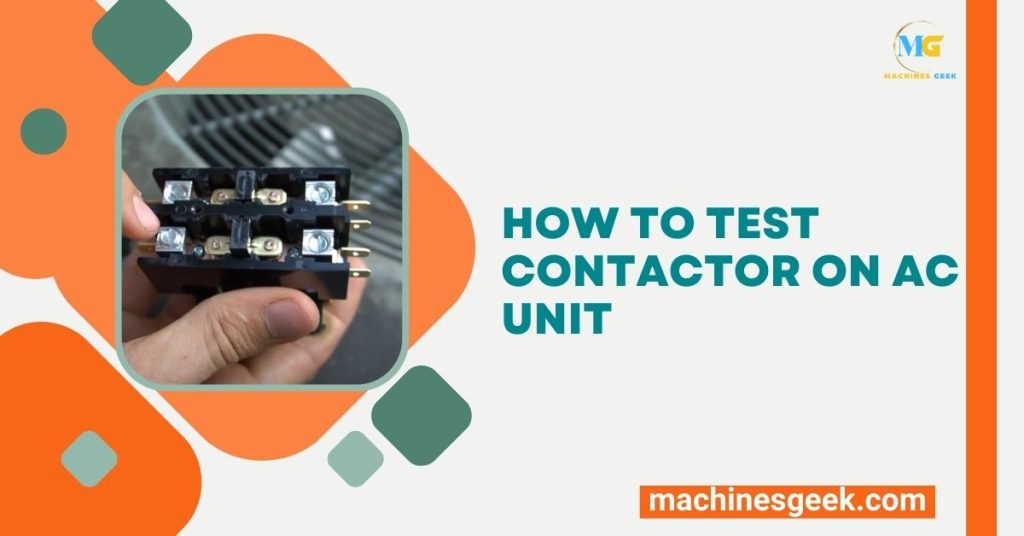
A contactor is a type of electrical switch that allows or interrupts the electrical current flowing through the AC unit. It consists of a coil and electrical contacts. When the coil is energized, it creates a magnetic field that attracts the contacts, closing the circuit and allowing electricity to flow. Similarly, when the coil is de-energized, the contacts open, interrupting the electrical current.
The contractor plays a crucial role in the proper functioning of the AC unit. It ensures that electricity reaches the compressor and condenser fan motor when needed, and prevents electrical overload. Without a functioning contactor, the AC unit may fail to start or cool effectively.
Regular maintenance and testing of the contactor are important for the longevity and efficiency of the AC unit. By understanding how the contractor works and its importance, you can ensure your AC unit operates smoothly.
Signs Of A Faulty Contactor
Common symptoms of a faulty contactor include frequent tripping of the circuit breaker, failure of the air conditioning unit to start, inability to maintain a consistent temperature, and strange buzzing sounds coming from the unit. If you notice any of these signs, it is important to test the contactor to identify the issue and prevent further damage.
Identifying when the contactor needs to be tested can be done by inspecting for burnt or pitted contacts, loose wires, or any signs of damage or wear. It is recommended to turn off the power before conducting any tests for safety reasons. Use a multimeter to check for continuity and resistance. Clean and lubricate the contactor if necessary, or replace it with a new one if it is beyond repair.
Safety Precautions Before Testing
Ensuring proper safety measures is crucial before testing the contactor on your AC unit. This helps prevent any potential accidents or damages. The importance of safety measures cannot be emphasized enough. Here are the necessary steps to take:
| Step 1: | Wear safety goggles and gloves to protect your eyes and hands from electrical shocks. |
| Step 2: | Turn off the power supply to the AC unit. This can be done by locating the main electrical panel and flipping the corresponding circuit breaker. |
| Step 3: | Use a voltage tester to ensure there is no power running to the unit. This will prevent any possibility of electrical shock. |
| Step 4: | Once confirmed, disconnect the power cables coming from the main breaker to the AC unit. |
By following these safety precautions and disconnecting the power supply, you can safely proceed with testing the contactor on your AC unit.
Testing The Contactor
Visual inspection of the contactor is the first step in testing its functionality. Look for signs of wear and tear, such as burnt or damaged contacts, loose connections, or melted plastic insulation. If any of these issues are present, the contractor should be replaced.
Measuring continuity with a multimeter is another method to test the contactor. First, turn off the power to the AC unit and discharge any stored electrical energy. Set the multimeter to the continuity test function and place the test leads on the contactor’s terminals.
If the multimeter beeps or shows a low resistance reading, it indicates that the contacts are closed and the contactor is functioning properly. If there is no beep or a high resistance reading, it means the contacts are open and the contactor may need to be replaced.
Steps To Test The AC Unit Contactor

- Turning off the power
Before beginning any work, make sure to turn off the power to the AC unit. This is crucial for your safety.
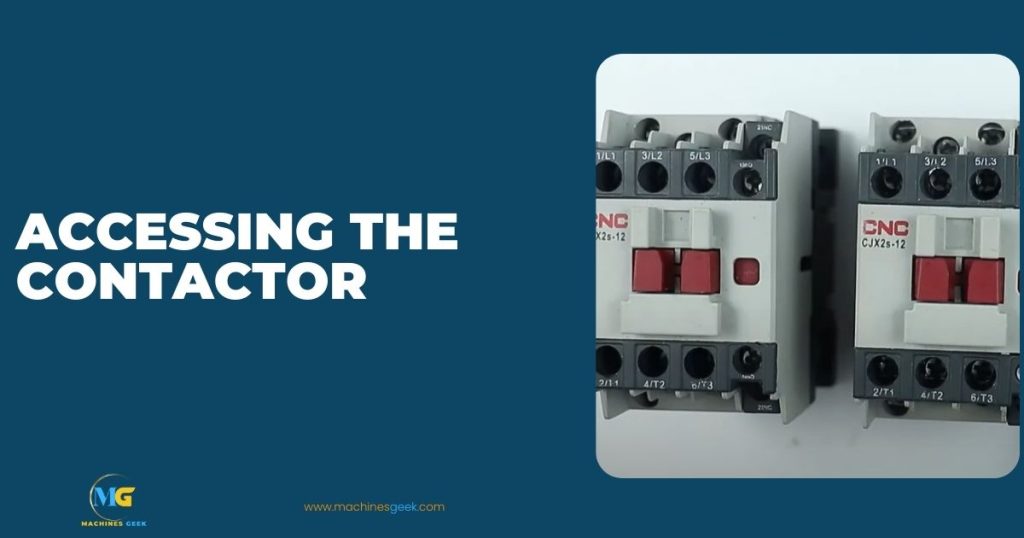
2. Accessing the contactor
Locate the contactor, which is usually found in the outdoor unit. Remove the access panel to gain access to the contactor.
3. Testing for voltage
Using a multimeter, set it to the voltage testing mode. Carefully touch the test leads to the contact points on the contactor to check for the presence of voltage.
4. Checking for proper engagement
Observe the contactor while the AC unit is running. Ensure that the contractor engages and disengages properly when the unit is turned on and off.
Interpreting Test Results
When testing the contactor on an AC unit, it is essential to accurately analyze the voltage readings. Voltage readings can provide valuable insights into the contractor’s response and determine the next steps for troubleshooting.
The contractor’s response can vary based on the test results. If the voltage readings indicate proper functioning, with consistent and appropriate voltage levels, it signifies that the contactor is functioning effectively. In such cases, no further action may be required.
However, if the voltage readings show fluctuations, irregularities, or inconsistent voltage levels, it indicates a potential issue with the contactor. High or low voltage levels can point towards the contactor not closing or opening correctly, leading to improper AC unit functioning.
Determining the next steps based on test results:
If the voltage readings are abnormal, it is recommended to verify and clean the electrical connections, ensuring there are no loose wires or corrosion. Additionally, inspecting the contactor for any visible damage or signs of wear can help identify potential issues.
Troubleshooting Common Contact Contactor Issues
Troubleshooting a faulty contactor on your AC unit is essential to keep your cooling system running smoothly. Addressing common contactor issues is an important step in ensuring proper functioning and improving the lifespan of your unit.
Contact arcing: An issue that may arise is contact arcing, which can lead to damage to the contactor. This occurs when the contacts become worn or corroded, resulting in an intermittent connection. Regular inspection and cleaning of the contacts can help prevent arcing.
Contact buzzing or humming: Another problem you may encounter is contact buzzing or humming. This noise is caused by the vibration of the contacts as electricity flows through them. Tightening loose screws or replacing the contactor altogether can resolve this issue.
Sticking or melted contacts: Sticking or melted contacts are signs of a more severe contactor issue. High electrical currents, excessive heat, or incorrect wiring can cause the contacts to stick together or even melt. In such cases, it is crucial to replace the contactor immediately to prevent further damage.
Regular maintenance and inspection of the contactor on your AC unit can help identify and address these common issues. By taking these steps, you can ensure the efficient operation of your cooling system and avoid expensive repairs in the long run.
Tips For Maintaining The Ac Unit Contactor
To ensure the proper functioning of your AC unit, it is important to regularly test and maintain the contactor. This electrical component acts as a switch, controlling the flow of electricity to the compressor and condenser fan. Keeping the contactor clean and inspecting it for any signs of damage is crucial to prevent any potential issues.
Regular cleaning should be a part of your AC maintenance routine. Remove any debris or dirt that may have accumulated, as this can interfere with the contactor’s performance. Additionally, check the contactor for any signs of corrosion or burned contacts.
Another important maintenance tip is to lubricate the contactor if necessary. Apply a small amount of electrical contact lubricant to ensure smooth functioning and reduce wear on the moving parts.
Over time, the contactor may wear out and need to be replaced. If you notice that the contactor is not working properly, such as if the unit does not turn on or the contacts are visibly damaged, consider replacing it.
| Regular Cleaning and Inspection | Lubricating the Contactor | Replacing the Contactor when Necessary |
|---|---|---|
| Remove debris or dirt. Check for corrosion or burned contacts. | Apply electrical contact lubricant. | Consider replacement if not working properly or contacts are damaged. |
Can I Use the Same Testing Method for the Contactor on My Black and Decker Portable Air Conditioner?
Yes, you can use the same testing method for the contactor on your Black and Decker portable air conditioner as outlined in the black and decker portable air conditioner instructions. Make sure to follow the specific steps and safety precautions mentioned in the manual to ensure accurate results.
Frequently Asked Questions
How Can I Test The Contactor On My AC unit?
To test the contactor on your AC unit, use a multimeter to measure the voltage across the energized coil terminals.
What Are The Symptoms Of A Faulty Contactor?
Common symptoms of a faulty contactor include the AC not turning on, buzzing or humming noises, and the fan not spinning.
Can I Test The Contactor Without A Multimeter?
Yes, you can test the contactor without a multimeter by turning off the power, visually inspecting for any damage or burnt contacts, and listening for any clicking sounds when manually pushing the contactor.
Conclusion
Testing the contactor on your AC unit is a crucial step in identifying and resolving any issues with its functionality. By following the simple steps outlined in this blog post, you can easily determine whether the contactor is working properly or needs replacement.
With regular testing and maintenance, you can ensure that your AC unit operates efficiently and keeps you cool during those hot summer months. So, don’t forget to include contactor testing in your AC maintenance routine.


